Mayren Abashed

Showing posts with label SOAP. Show all posts

Oct 17, 2013

Dandelion Swirl - Soap Challenge

Greetings Friends   :)

I am back with another Soap Challenge from Greatcakes Soapworks : Soap Challenge hosted by
the fantabulous Amy Warden. 

This was a pretty fun Challenge. The Dandelion or "Zebra" Swirl was created by Vinvela Ebony on her blog Dandelion Seifee.   It's in German but if you have Google Translate it helps.

This recipe needed to be slow moving to give enough time to swirl so I used a lot of Olive oil.

I will admit I made two attempts and the first one went fine, but my color combo just didn't look cohesive enough for me.   It will be great for a Mardi-Gras twist but I wanted to put in one more really strong attempt for the official challenge entry.


Here are my photos for this Month's Soap Challenge:

Scented with Yuzu for a bright and inviting bath-time and the coloring technique makes it look great on any Bathroom counter or on the Shower's shelf.


Oct 13, 2013

We have just listed new Seasonal Soaps so check out the Shop for scents like Pumpkin Pie, Frankincense and Myrrh, and Sugar Plum !

Aug 14, 2013

August 2013 Soap Challenge Club

Hello Everyone!

I have recently started to take part of The Soap Challenge Club headed up by Amy Warden of  Great Cakes Soapworks. The challenge I started with was for August 2013 the "Holly Swirl" also known as a Swirl within a swirl named after creator Holly Bailey of Missouri River Soap Co.

Here is my Entry to this month's Soap Challenge:  Blackberry Sage Soap with Holly Swirl.
My photo is not quite good enough to see the speckles in the baby blue part which is powdered Vanilla Bean.  I will probably use the vanilla bean in other soap with the light blue another time. I do wish i had mixed the blue a little closer to purple but my God-sons love it for their fave colors so yay!.

I had a blast and can't wait to see everyone's creations. (big huggles to all)


------------------------------------------------------------------


Extra photos of the top - before cutting


Oct 1, 2010

Mayren's Sugar Scrub Cubes using Soap shreds

Mayren's Sugar Scrub Cubes using CP or HP Soap shreds the "1-2-3 Method"

-----------------------------------------------------------------------------------------------------

Copyright to Mayren 2010 - 2021. All Rights Reserved

------------------------------------------------------------------------------------------------------


The 1-2-3's are measured in parts (or units) This way you can resize the recipe as you need. 
(please use a scale for best results - weigh one part of your materials and use that as your base )

This is not meant for beginners.    Please research and understand how your materials like oils and butters work in all stages of your uses before you sell or give away items. 


Materials you need:

1 Part - Oils/Butters total

2 Part - CP/HP Soap Shreds (chopped fine)

3 Part - Sugars (I mix white and raw sugars for texture)


Directions:

-*- In a microwave-safe container, combine Oils with Soap (and colorant) and heat in short bursts. Stir in-between bursts until the mix is smooth but not burnt.

(you can add a little of the sugar in this to make the base more compliant in the next step)

-*- To your hot base add the Sugar:

a. 3 Parts if half your oils are hard butters

b. 4 Parts if your oils are all liquid

c. 5  Parts if your oils are all Thin liquids or if you want a super crumbly cube.


-*- Quickly add the FO/EO after the sugar is starting to incorporate and the mix is starting to cool down.

-*- Mix until the batch looks like a dough ball of sorts. If it's not a dough ball then your bars may not firm up as well because the mix is not incorporated enough.

(- Please note that if you added mostly hard butters the batch should still look like a dough ball but softer and less firm until completely cooled. -)

-*- Put the mix into your mold. (i like silicone molds and use a stainless spoon for smoothing the tops of my cubes while in the mold)

-*- Put the mold into the freezer for about 5 to 10 minutes then pop out and let air dry for a day or so before storing in a dry and preferably airtight container.


((( A preservative may be added if you personally feel you want to but it is not usually necessary in this anhydrous formula. I do use OptiphenND or Liquid Germall Plus preservative with these cubes  ---  follow the preservative instructions to use them in the correct phase )))

---------------------------------------------------------------------------------------------------------------------
---------------------------------------------------------------------------------------------------------------------

Usage of final product:

I take a quarter to a half of a cube (based on the Wilton brownie pan) to the shower with me. I wet the cube then make a paste from it in my hands and apply it to my skin. Using more water I rub and scrub it over my skin and it forms a very light lather then rinse off.

As with most sugar scrubs - the tub/shower will be a little slick from the oils so beware.


---------------------------------------------------------------------------------------------------------------------
---------------------------------------------------------------------------------------------------------------------

I hope you enjoy your Solid sugar scrub cubes made with soap shreds vs MP or Melt & Pour. I like the feel of regular soap shreds much better.

Please share your experiences with your batches! :)

Aug 9, 2010

Making Silicone Soap Molds

I made some Silicone soap molds by hand and had a blast. Here are some moments from that adventure.

The clay design of cherries that I use as for my new logo to be cute.


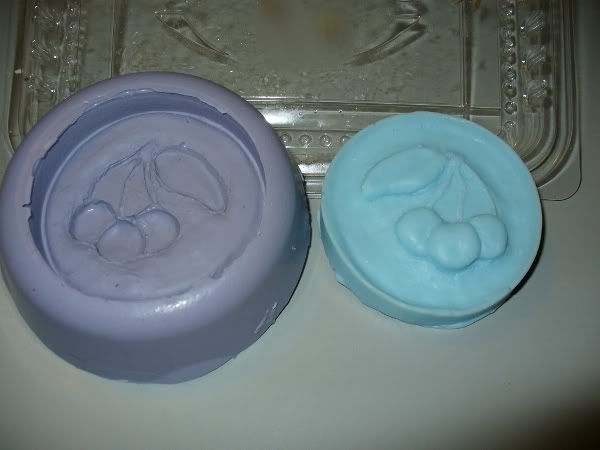
The finished Cherry Mold and Blue Cherry Melt & Pour soap scented with Apple Jack & Peel which smells very crisp and bright.


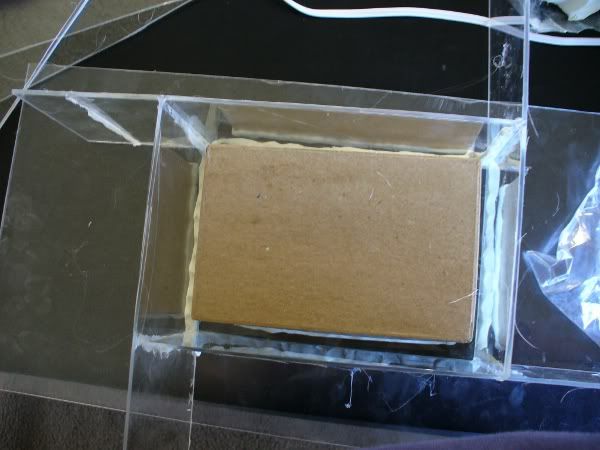
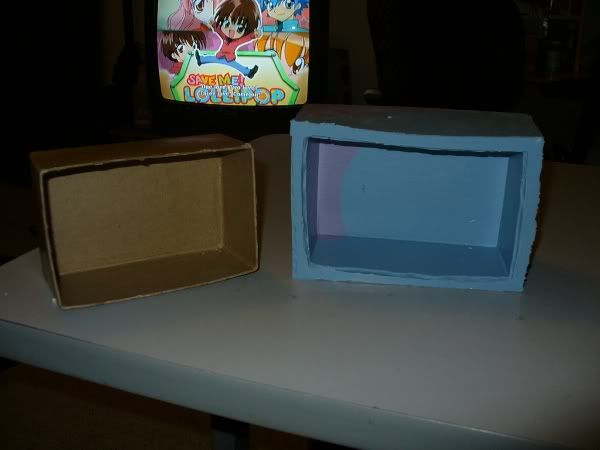
The prepped frame box being used to make the new loaf mold is done in mostly Acrylic Sheeting and hot glue. This means that the Acrylic is reusable. Nice!


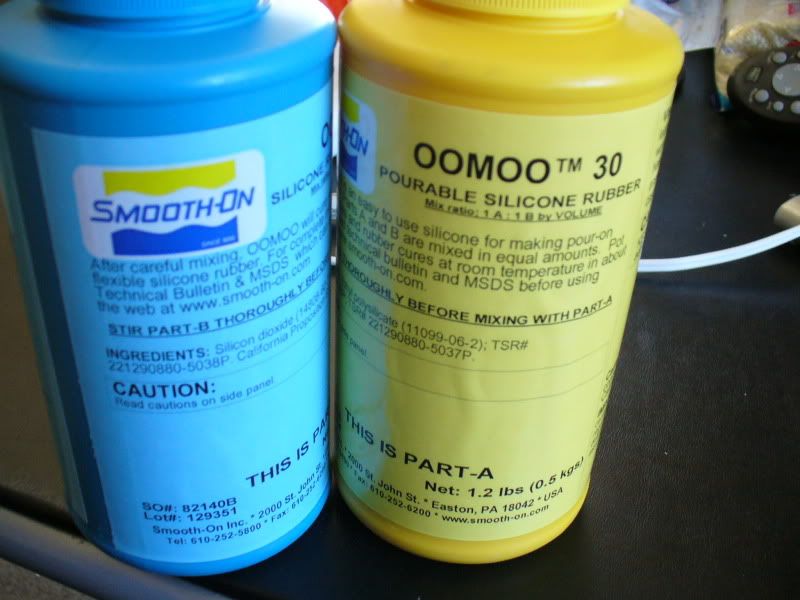
I used OOMOO30 Silicone which is pretty easy to use.


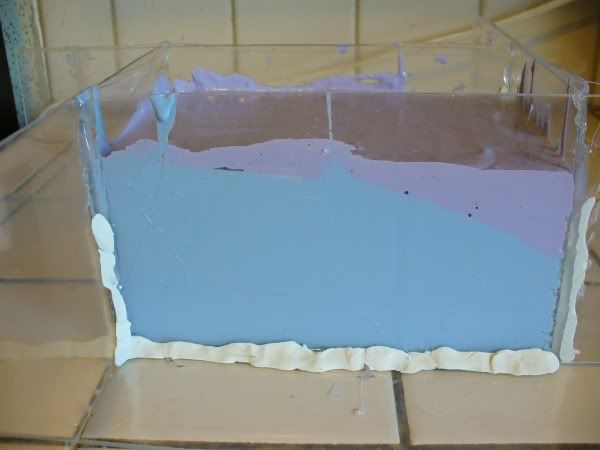
This is the silicone mixed and poured.   I didn't use enough mix the first time so I hurried to mix up more and didn't mix it quite enough so there is variance of color but surprisingly came out wonderful.


This is after the cure and out of the frame - you notice I took the box I used to create the inside of the mold out after the cure as well.


Here's an action shot of freshly made soap in this new soap Mold